
Here, we will discuss, how to modify the Header, Footer and Navigation in SharePoint Online modern communication site without using any custom code.
Microsoft has introduced some new features in the communication site which helps in making the changes in look and feel of the header, footer, and navigation. Now, there is no need to add custom code. Thus, the manual efforts for branding on the header, footer, and navigation are reduced.
Now, let’s see how to customize the site and apply branding into a SharePoint communication site.
Customize Header in SharePoint Online Communication Site
- Navigate to your SharePoint online Communication site ->Open Site
- Click on the Site Setting icon on top right corner of the SharePoint site -> Click on the Change the look option
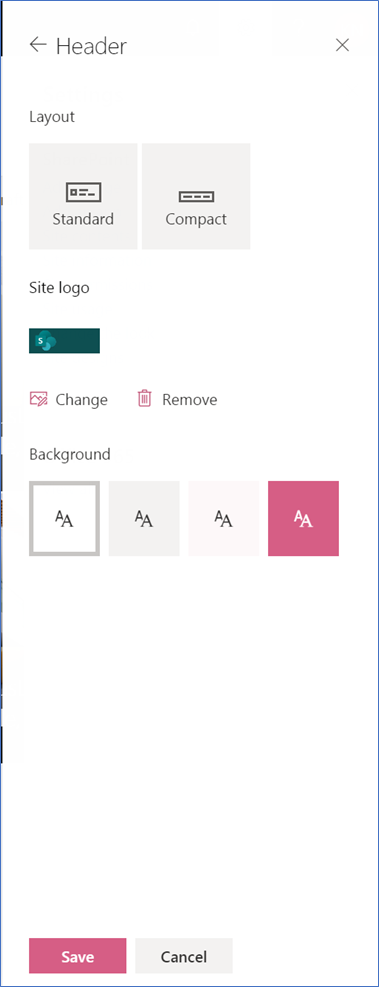
- Select the “Header” link
- Select either the Standard header layout or the Compact option which moves all header content to a single line.
- Click on “Change link” to add a site logo.
- Select a header background to change the background color of your site header.
- Click Save button to apply the changes in the site
Customize Footer in SharePoint Online Communication Site
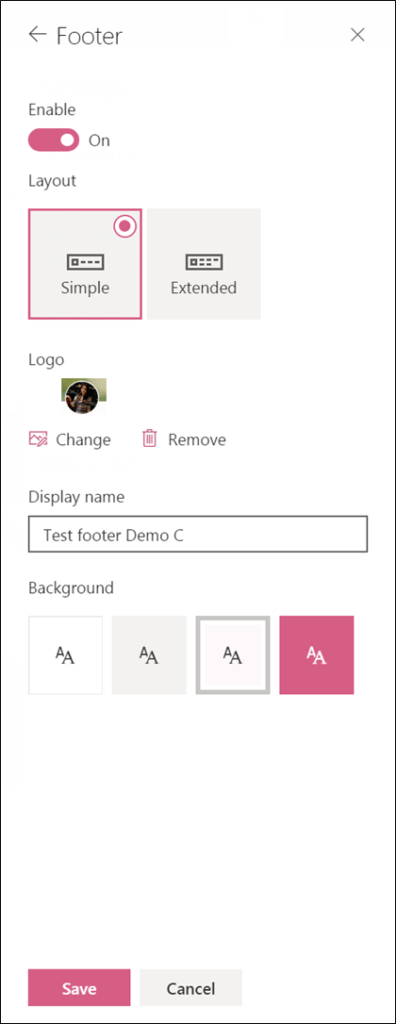
- Select the “Footer” link
- Toggle the Enable switch to On to add a footer to your site.
- Select either the Simple layout or the Extended
- Click Change link to add your logo image to the footer. The image is automatically resized.
- Enter name of the footer under Display Name field
- Select the background
- Click Save to save your changes.
By: Kanchan Thakur